Today I learned how to create api server on hosted web on AWS EC2 instance, using Poderosa. She emphasized that linux environment is crucial for development. Also, from now on I should update every code on Git.
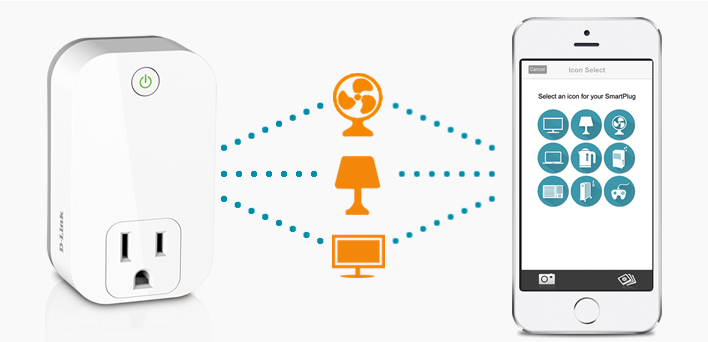
With this tutorial, you can build rest api and host it on AWS. Basically what you can do with api is numerous, you can upload website, game, service, database and so on. All these can be used from mobile application to web. My purpose of making api is to build a server for my software engineering project ‘smart plug’. We are going to make plug that can be controlled with smart phone and also the electricity usage can be measured. So, from the device it will calculate electricity and other information and send it to mobile phone and the bridge between them is the api server I’m going to build.
However, the api that I’ll make is just for test, not related to the project.
Sketchy Process
- Build django-restframework
- test on localhost
- EC2 hosting
- Get public key
- Open port
- Connect to Server with Poderosa
- Get api files from Git
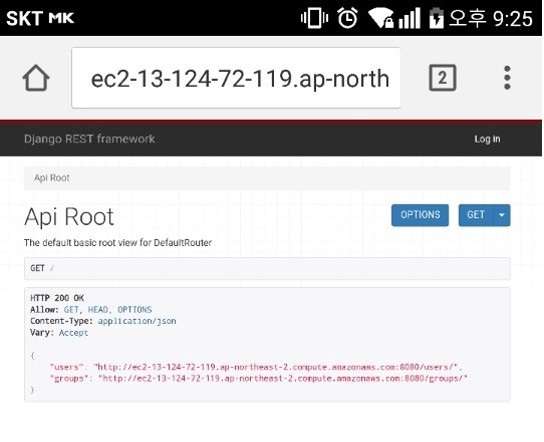
This is the final screen of api in web and application. According to what kind of api I build I can save data on the server and get it from anywhere.
I’ll start to follow the sketchy process.
1. Build django-restframework
I made simple api using django-framework referenced from quickstart tutorial from django restframework homepage. http://www.django-rest-framework.org/tutorial/quickstart/
Project Setup
# Create the project directory
mkdir tutorial
cd tutorial

# Create a virtualenv to isolate our package dependencies locally
virtualenv env
source env/bin/activate  # On Windows use `env\Scripts\activate`

# Install Django and Django REST framework into the virtualenv
pip install django
pip install djangorestframework

# Set up a new project with a single application
django-admin.py startproject tutorial .  # Note the trailing '.' character
cd tutorial
django-admin.py startapp quickstart
cd ..
When starting a new project, it is more convenient to create virtual environment with virtualenv. Because usually you download many libraries in different version and it will end up compiled on your computer. That can produce severe version conflict in the future. Next, you download the libraries and create new project and application.
If you also want to use virtual environment on Pycharm you should simply import the directory in Pycharm.
Sync your database
python manage.py migrate
Initialize user named admin with a password of password123.
python manage.py createsuperuser
Once you’ve set up a database and initial user created and ready to go.
From now on, you can copy and paste the code on the django restframework website’ quickstart.
Serializer
Serializer is the setup point on where you choose which and how data will be showed on the api.
Views
This part is the framework of the database.
URLs
URL part will set url link navigation.
Settings
In the tutorial, it includes ‘DEFAULT_PERMISSION_CLASSES’ to be only accessible to admin users but for our api server, we will open it for any users. So erase that part.
More detail tutorial analysis will be held on other upcoming posts…
Testing our API
Runserver on localhost
python manage.py runserver
We can now access to our API using command like curl or can go directly through the browser. This will be only accessible on local.